
Getting Accurate Readings from a Home Blood Pressure Monitor

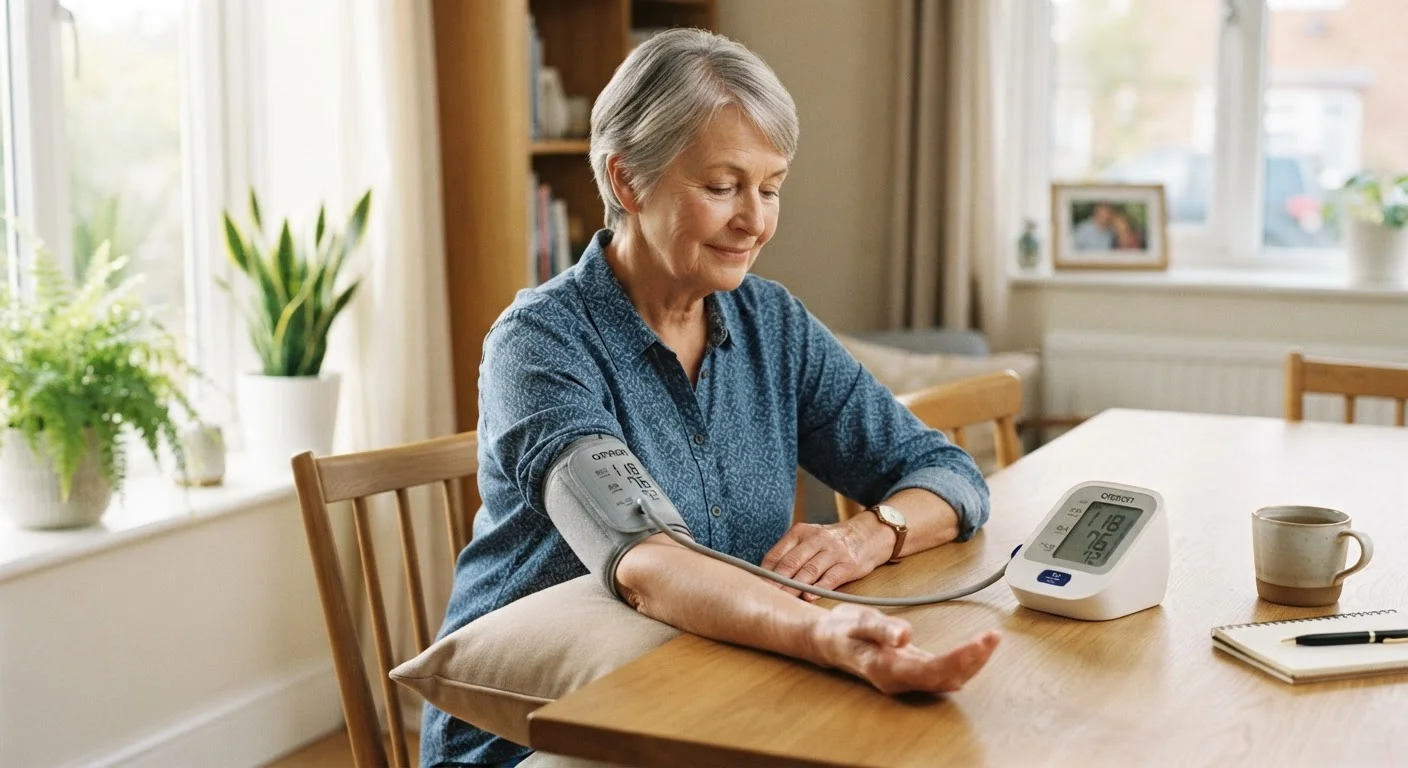
Photo: HerbHealWellness.com | Modern Guide To Wellness editorial
Key Takeaways
- Sit quietly for five minutes before taking any measurement to allow your blood pressure to stabilize.
- Cuff size matters — a poorly fitting cuff is one of the most common sources of inaccurate readings.
- Avoid caffeine, exercise, and smoking for at least 30 minutes before measuring.
- Take two to three readings one minute apart and record the average, not just one number.
- Consistent timing, posture, and technique produce data your doctor can actually use.
Why Home Readings Vary — and What You Can Do About It
Blood pressure is not a fixed number. It fluctuates throughout the day in response to movement, stress, temperature, hydration, and dozens of other variables. A home monitor gives you access to that variability, which is clinically valuable — but only if the measurements are collected consistently. Research published through organizations such as the American Heart Association consistently shows that technique errors, not device malfunction, are the primary driver of inaccurate home readings.
The good news is that the most common sources of error are entirely preventable. Cuff size mismatch, an unsupported arm, talking during measurement, and skipping the rest period each introduce predictable, correctable biases. Understanding what drives variation puts you in control of the quality of your own data.
It's worth noting that similar principles apply to other home monitoring devices. Just as nail polish or poor probe contact can skew a pulse oximeter — as discussed in our article on why pulse oximeter readings may be unreliable — body position, skin contact, and user technique all shape what the sensor detects.
What you will need
Validated upper-arm blood pressure monitor
Measures systolic and diastolic pressure automatically; upper-arm models are the standard for home accuracy.
Correctly sized cuff
Ensures the bladder inside the cuff encircles the right proportion of the upper arm for an accurate reading.
Sturdy chair with back support
Allows the reader to maintain the supported, upright seated posture required for consistent measurements.
Flat surface or armrest at heart height
Keeps the cuffed arm level with the heart, preventing position-related errors.
Notebook or health logging app
Records readings with date and time so trends can be shared with a healthcare provider.
How to Take a Measurement: Step-by-Step
Follow the steps below each time you measure. Consistency across sessions is what converts individual numbers into a meaningful health picture. The steps are designed around validated upper-arm automatic monitors, which are the standard recommended by most clinical guidelines for home use.
Choose the right cuff size
Wrap a flexible tape measure around your bare upper arm at the midpoint between your shoulder and elbow. Match that circumference to the cuff size range printed on the cuff label. A cuff that is too small will artificially inflate readings; one that is too large may underestimate them. Most monitors include a standard adult cuff, but small and large sizes are typically available separately.
Prepare your body for at least 30 minutes
Refrain from caffeine, tobacco, alcohol, and vigorous exercise for at least 30 minutes before measuring. These factors cause temporary blood pressure changes that will make your reading unrepresentative of your baseline. Empty your bladder beforehand — a full bladder can raise a reading by several mmHg.
Sit quietly in the correct position for five minutes
Sit in a chair with your back supported, both feet flat on the floor (do not cross your legs), and your non-dominant arm resting on a flat surface so that the cuff will be roughly at heart level. Remain still and avoid talking. This five-minute rest period allows your cardiovascular system to reach a resting state.
Apply the cuff correctly
Slide the cuff onto your bare upper arm — clothing beneath the cuff distorts results. Position the lower edge of the cuff approximately one inch (2–3 cm) above the crease of the elbow. The artery marker (usually an arrow or label on the cuff) should align over the inner arm. Secure the cuff snugly: you should be able to slip one fingertip under it, but not two.
Take two to three readings, one minute apart
Press the start button and remain still and silent while the cuff inflates and releases. When the first reading displays, wait approximately one minute before taking a second. Most guidelines recommend averaging two or three consecutive readings per session rather than acting on a single measurement, which may be an outlier.
Record your readings immediately
Note both the systolic (top) and diastolic (bottom) numbers, plus the date, time, and which arm you used. Always use the same arm across sessions unless a clinician instructs otherwise; readings between arms can differ naturally. Bring this log to your next appointment so your provider has a pattern to evaluate, not just a single data point.
Log Every Reading the Same Way
Don't Rely on Wrist or Finger Monitors Alone
Understanding Your Results and When to Act
A home monitor is a monitoring tool, not a diagnostic instrument. Individual readings should not be interpreted in isolation. What matters to your healthcare provider is the pattern — average readings over days or weeks, whether they are trending up or down, and how they compare to readings taken in a clinical setting.
Occasional readings that seem high or low are common and often explained by a protocol deviation (you forgot the rest period, or the cuff slipped). If readings are consistently outside your target range as set by your clinician, or if you observe a sudden, marked change, contact your healthcare provider rather than adjusting any medication or treatment on your own.
High Readings Require Medical Attention
For readers building a broader home health routine, pairing consistent blood pressure logging with structured tracking of other vitals can make your data far more actionable. Our guide to setting up a home health monitoring routine covers how to integrate multiple devices and when to share data with your care team.
This article is for general informational and educational purposes only and is not a substitute for professional medical advice, diagnosis, or treatment. Always consult a qualified healthcare professional regarding any health concerns or before making changes to your care.
The content on this site is for informational purposes only and is not a substitute for professional advice. Always consult a qualified professional for guidance specific to your situation.